

You can change the entire personality of a space with color, pattern and a focus on the details, as seen in this “after” photo of our dining room. Photo: Trisha McBride Ferguson.
My dining room was desperately in need of a makeover.
While it isn’t the most-often used room in my home, it is the setting for holiday and family gatherings–which makes it special. But it didn’t feel special.
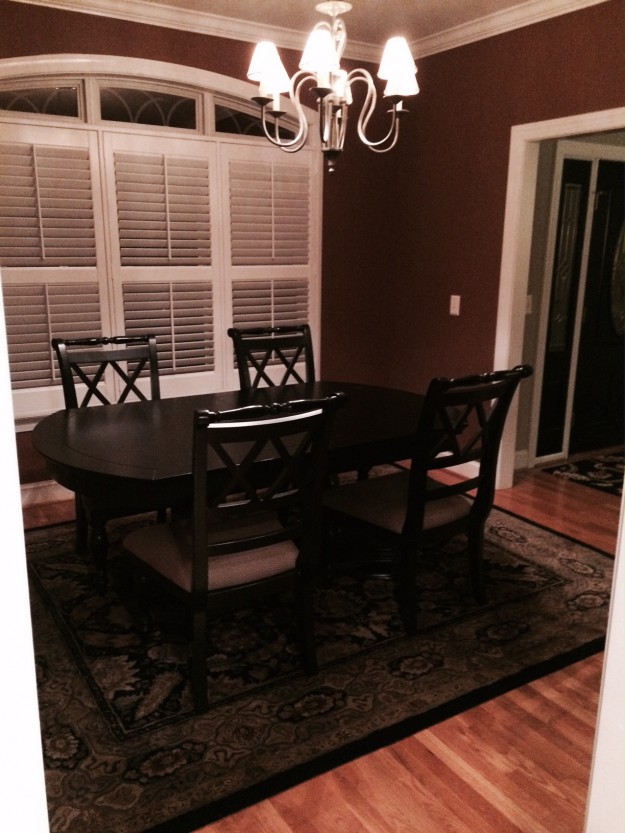
The “Before” photo of my uninspiring dining room. Photo: Author.
The existing dining room walls were a medium brown–a color selected by the previous owners. It made the space feel smaller than it was, and did nothing to highlight the beauty of the dark finish on my dining room furniture. Plus, it didn’t flow with the colors of the adjoining rooms. The chandelier was also an existing feature. And, while I’d added shutters to the windows, I was waiting to add window treatments until the dining room makeover.
Here’s how I gave my dining room a fresh new look on a modest budget.
Step 1: Find inspiration.
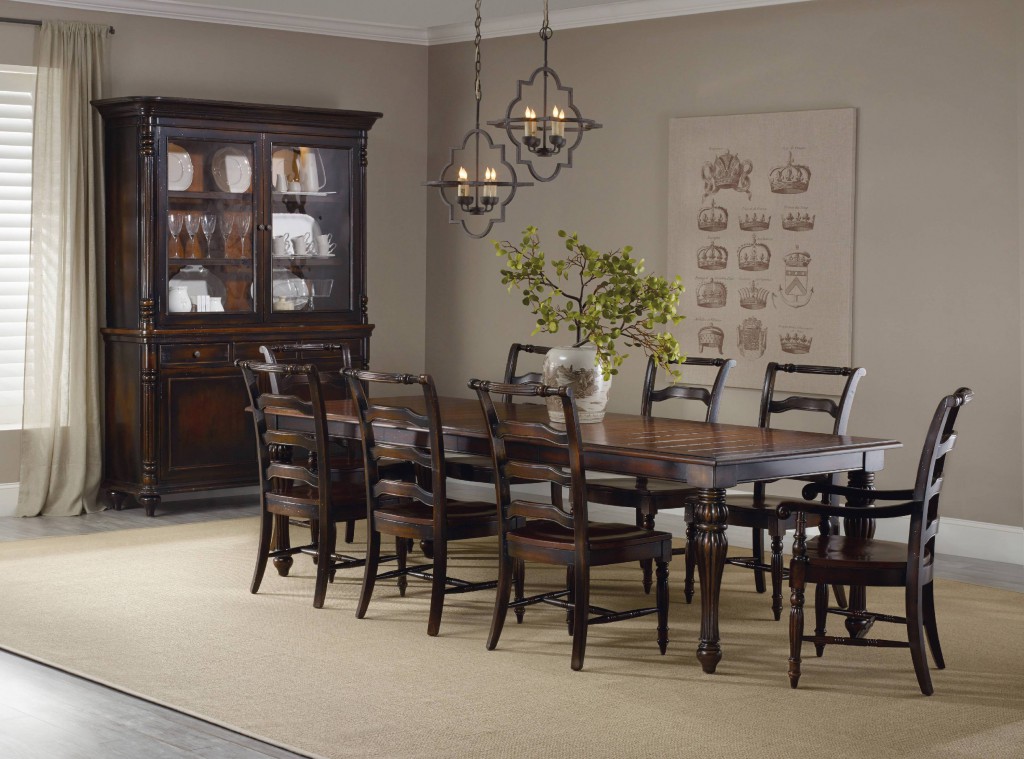
I started the project by collecting photos of dining rooms I love, like the Leesburg dining room below that mixes a traditional cherry and light cream-colored accent finish.
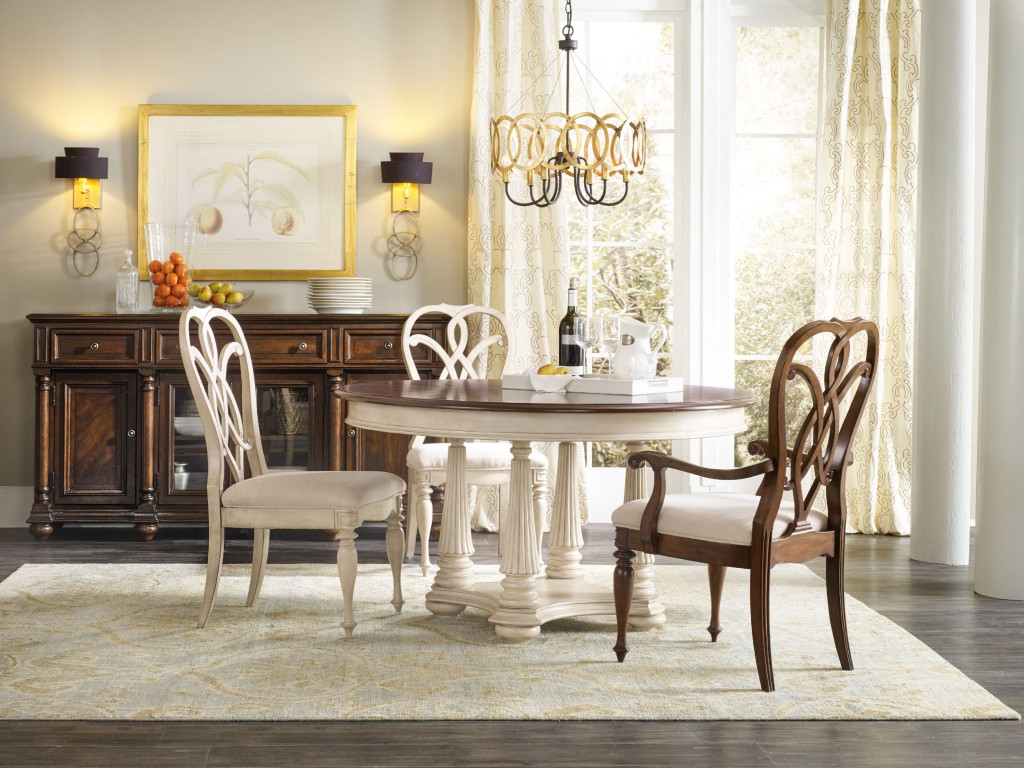
The Leesburg dining group gives a fresh spin on traditional styling by mixing a classic cherry finish with a cream-colored accent finish. Photo: Hooker Furniture.
Through my photo collection, I was able to identify commonalities. It was clear that I like bright, light-filled spaces with great colors and pleasing pattern combinations. Other similarities my inspiration photos had were fabulous light fixtures, beautiful floor rugs and elegant window treatments. My project really got going once I found the fabric for my window treatments—it set the color palette and helped me find the right rug.
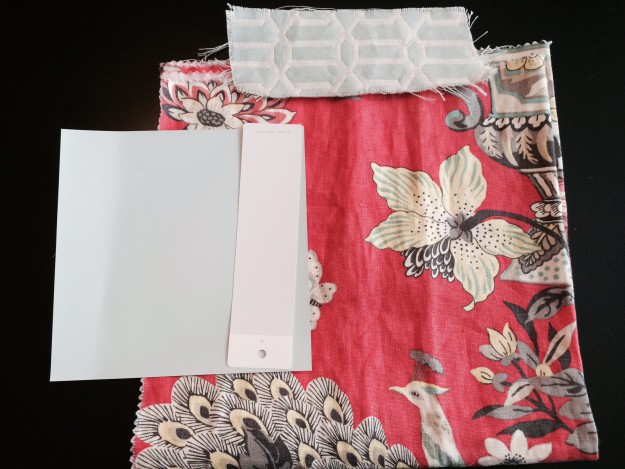
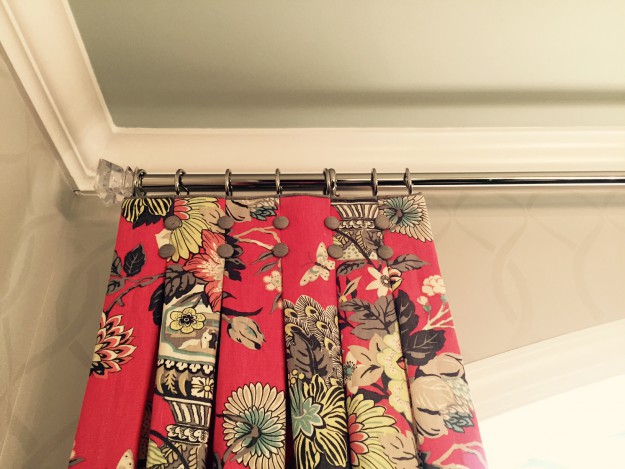
Inspiration for my dining room makeover came from this peacock-motif fabric and its bold shade of coral with touches of aqua. Also shown are the wall and ceiling paint colors and the companion fabric used on the chair pillow. Photo: Author.
Step 2: Evaluate the Space.
Since my project didn’t include any construction, it was important to determine what was staying and what could be changed. I started by taking everything out of the room to create a blank canvas. Then, based on my budget, I resolved to incorporate my existing dining room furnishings.
When it comes time to update the furniture, I’ll be considering both the Eastridge dining room and Palisade dining room collections from Hooker Furniture.
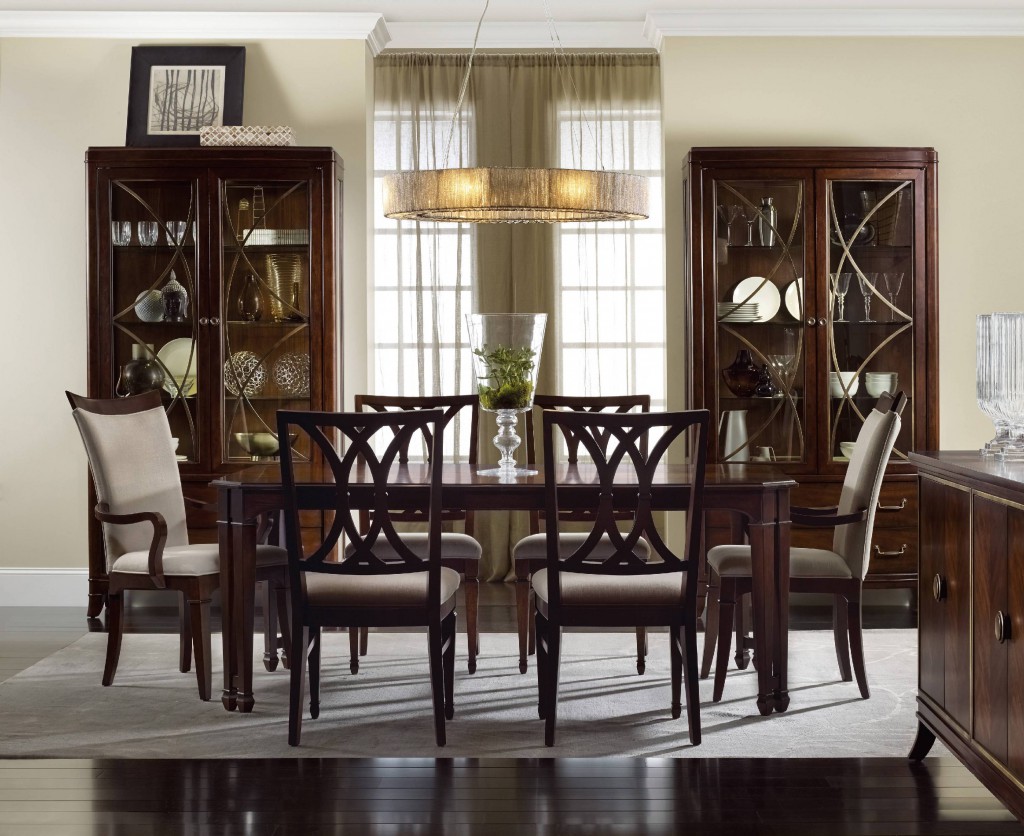
The Palisade Collection is a favorite, and I think its styling would work very well with my dining room’s new design. Photo: Hooker Furniture.
I also love the classic lines and timeless style of the Eastridge Collection. Photo: Hooker Furniture.
Step 3: Maximize color and pattern.
I chose a soft gray wall color based on the color palette I had chosen for the room. While I considered wallpaper, I wanted the flexibility to change the look in a couple years–so I chose a faux finish that looks like wallpaper. The paint color used for the pattern is a half-shade darker than the wall color and is a semi-gloss finish, while the wall color is an eggshell finish. I painted the ceiling a soft shade of robin’s egg blue to add interest and draw the eye upward to the run new chandelier that has dangling glass balls of varying heights.
While I wanted to incorporate some of the blue from the fabric, I didn’t want to entire room to be blue. A subtle shade of robin’s egg blue on the ceiling provided the perfect solution–with a nod to the classic porches of Charleston. Photo: Author.
Step 4: Focus on finishes.
I believe an important element of design is when to match finishes and elements, when to coordinate them, and when to contrast them. For my dining room, I chose to match a few elements and coordinate others. The finish on the new light fixture is polished chrome, so I chose a polished chrome drapery rod and rings for the drapery panels. The chandelier also has clear glass balls, so I selected similar clear acrylic finials to finish the drapery rods. On the opposite side of the room, I placed a lamp with a clear acrylic base than coordinates nicely.
Where I didn’t choose to match elements exactly was in the largest patterns in the room–on the walls and the floor. While it would have been easy to copy the exact circular ring pattern of the new area rug on the faux finish pattern of the wall, I felt it would be too matchy-matchy. Instead, I chose a more elongated, beveled oval shape for the wall pattern. It relates to the rug pattern without copying it too closely.

The tone-on-tone oval pattern on the walls relates to the ring pattern of the rug, yet is just different enough to be interesting. Photo: Author.
Step 5: Add Artwork.
No great room is complete without the personality artwork brings. While I’ve selected one piece of art for this room, I still need to find something for the largest wall. In fact, the room doesn’t feel done because it’s such an empty space. Yet, while I’ve been searching, I haven’t found the perfect piece yet, so I may have to create something myself.
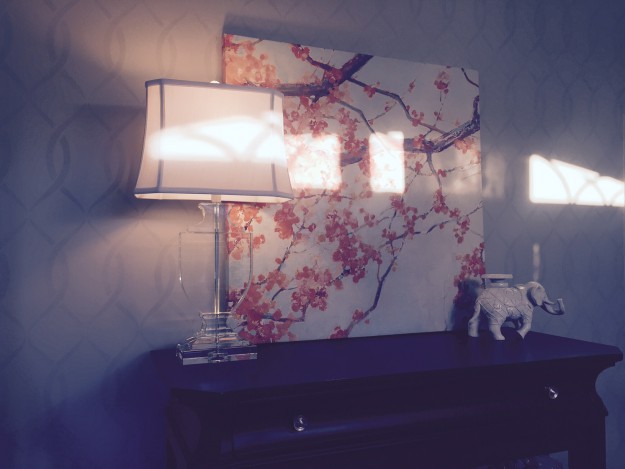
The shade of coral in these blossoms adds color to this otherwise neutral wall, while the clear acrylic base of the lamp ties into the chandelier. Photo; Author.

The large back wall still needs artwork—something large in scale, perhaps 2-3 mirrors or canvases that read as one large piece. Photo: Author.
Step 6: Finishing with details.
One of most important tasks for decorating any space is to add those designer details. For example, my old chandelier was hung in the center of the room, but because of the room layout, that wasn’t the center of my table. When I redecorated the room, I seized the opportunity to relocate the chandelier a few inches and it now sits nicely above the center of the table. (Just remember to do this before you paint the ceiling).
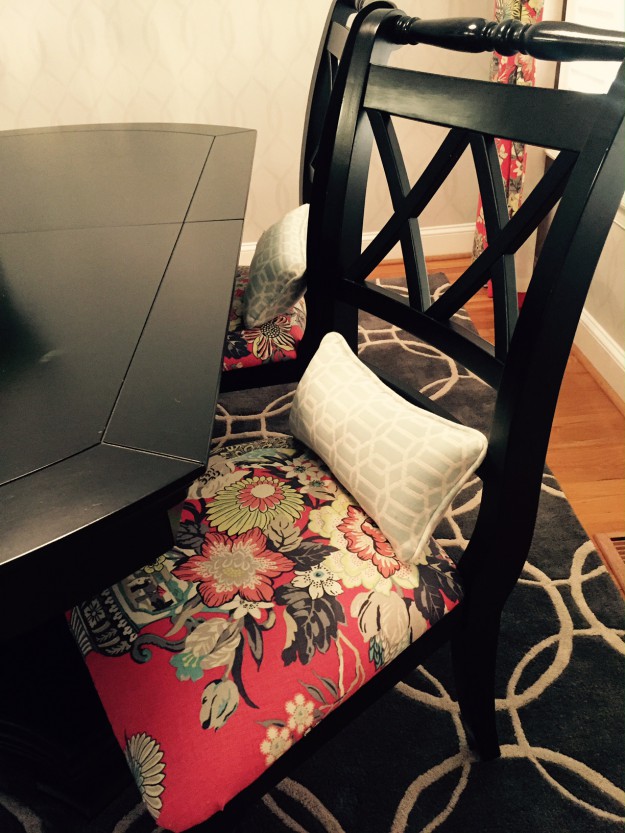
Another detail specific to this project is that I recovered the dining chairs in the same fabric as the drapery panels. I liked the fabric so much that I wanted to see more of it—particularly because it’s pleated in the panels, which makes it hard to see the full pattern. Yet I also wanted to incorporate a second fabric in the room—so I created small kidney pillows for the back of the chairs in an aqua and white trellis fabric. The pillows add visual interest, plus they’re comfortable. It’s these kind of special touches that make a dining room space distinctive and memorable.


{ 1 comment… add one }
Hi, beautiful room. Can you provide a source for the drapery fabric please.