Looking for a fun way to decorate cupcakes for the Easter holiday? Or maybe you just want to make cupcakes for spring. These “bird’s nest” cupcakes are really cute and actually not too difficult. With the right tools, you can wow your friends and family with these fun and tasty treats!
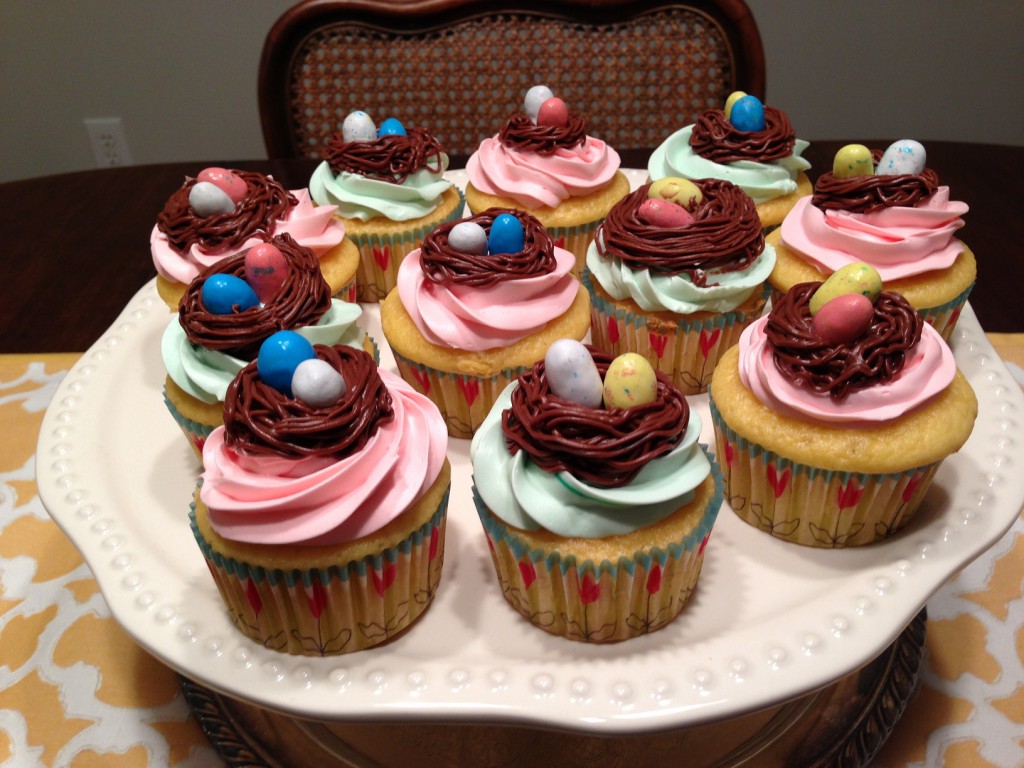
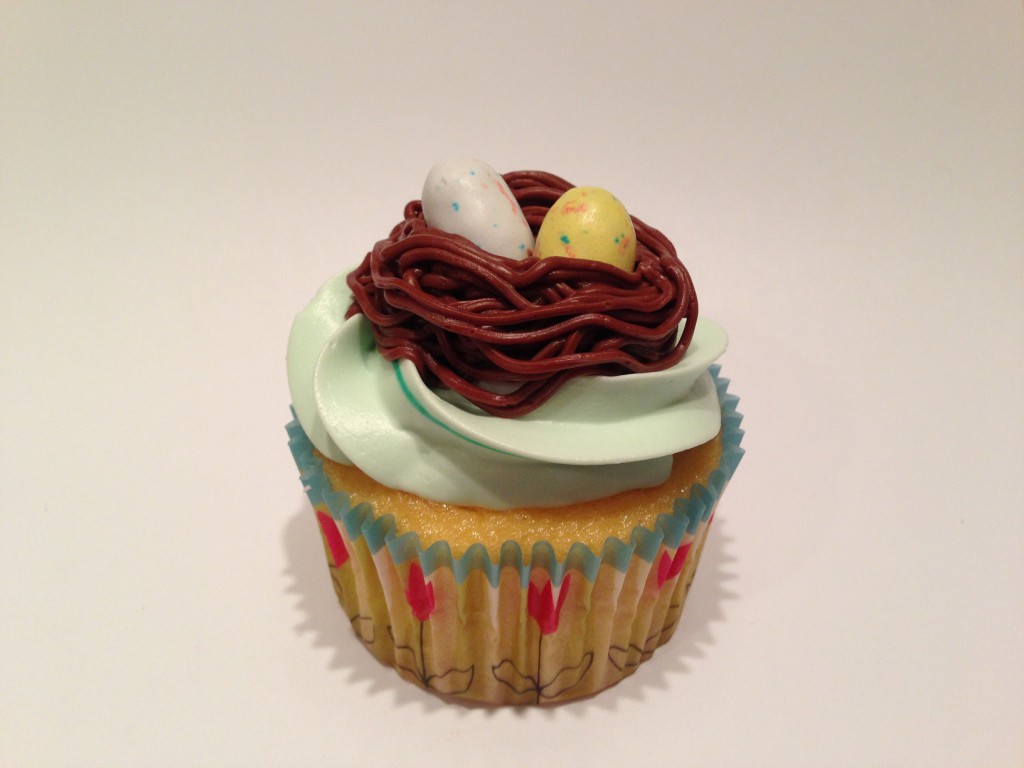
Easter "bird's nest" cupcakes
First start by baking the cupcakes and letting them cool for at least an hour. I like to let mine cool completely in order to prevent icing from melting and running down the sides. I used three different icings for these cupcakes. Two were just plain white vanilla and one was chocolate. The plain white ones were dyed green and pink with simple food dye.
In order to ice on the base layer of pin or green, you will need a piping bag and a 1M tip by Wilton.
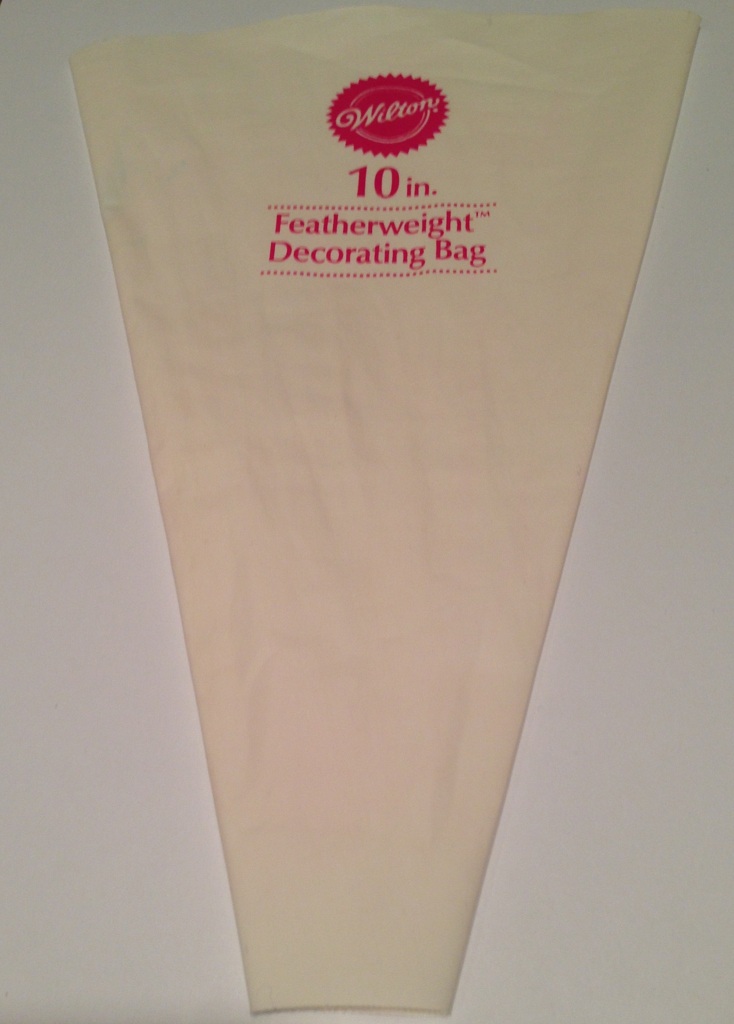
Wilton reusable piping bag
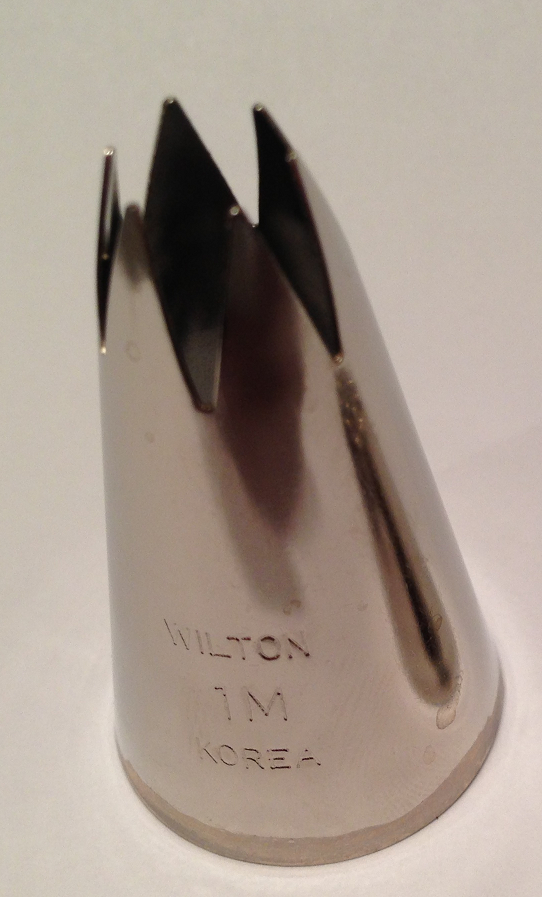
Wilton 1M decorating tip
Slide the tip inside the bag and push it all the way down. With the bag in one hand, fold the top edge over then scoop the icing into the bag. Don’t fill all the way to the top, leave some room for twisting off the top. Unfold the bag back up and twist the top. Holding the bag in one hand and guiding it with the other hand, firmly squeeze the icing out onto the cupcake starting from the outside and working a spiral inwards. This is your base.
The next part is where you make the bird’s nest. For this you will need another piping bag, the Wilton 233 tip, and a coupler. The purpose of a coupler is to lock the piping tip into place in the piping bag. The reason the coupler isn’t needed for the 1M tip is because it’s just too big for one. For more info on the coupler, visit Wilton’s website. Fill the piping bag the same way as before but this time with chocolate icing.

Wilton 233 decorating tip
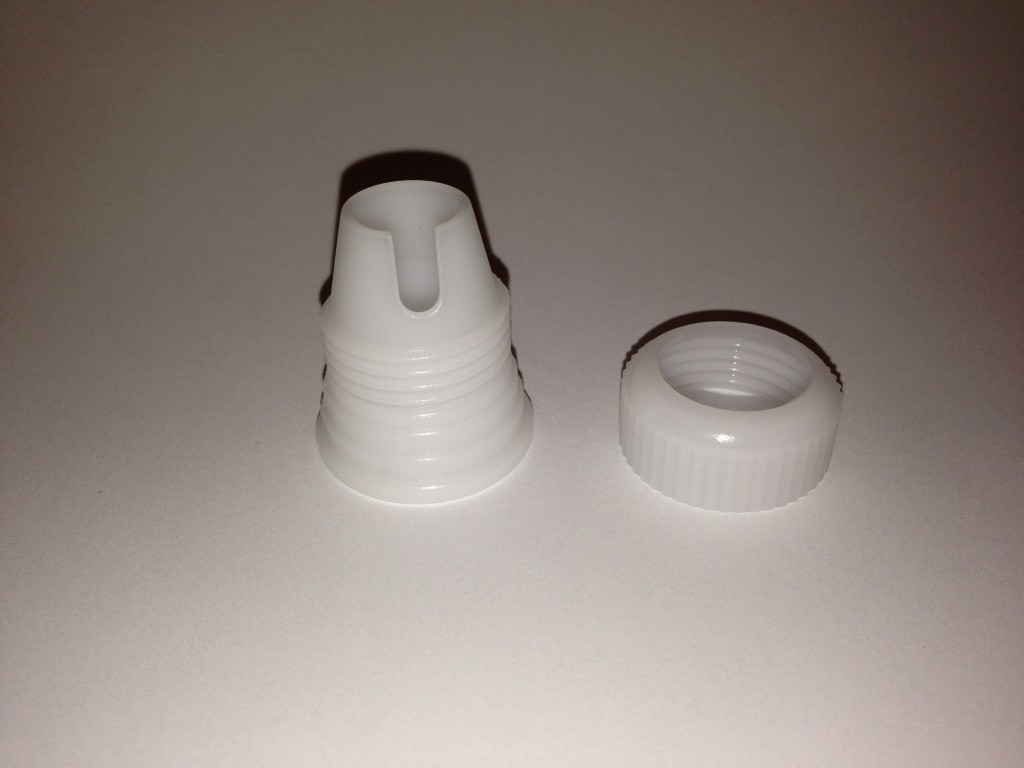
Wilton decorating tip coupler
Pipe the icing into an oval on top of the base icing. Do a few circles around to make the icing stacked. This is the nest! Fill the nest with malted milk robin’s eggs.
The finished product!
Happy Easter and happy spring! Enjoy!



{ 0 comments… add one }